I have no idea when it became common practice to put light switches in the places that make sense for the flow of traffic in a home, but it was obviously before my home was built in 1936.
Since about 75% of my business is in East Sac, I help about 18-20 clients per year buy or sell a home in East Sac and I see a lot of older homes. Very often, the location of the light switches don’t make sense for the flow of traffic into or out of the room.
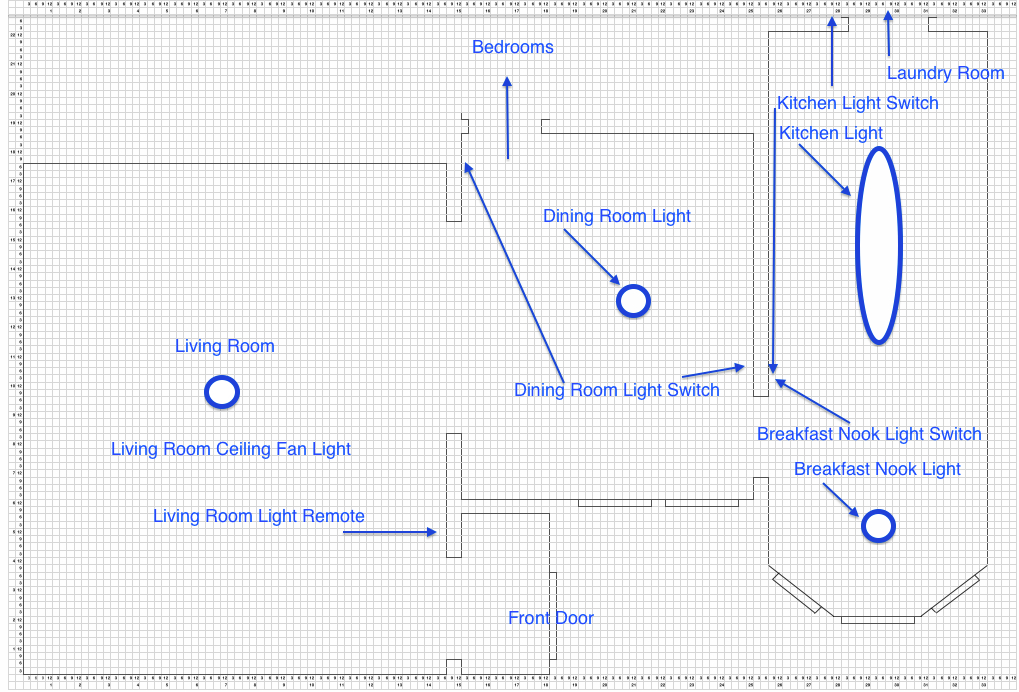
Let’s take my home as an example. When we bought this home last year, there wasn’t a light in the living room, you had to walk through the dining room to turn the dining room light on and you had to walk through the breakfast nook, the kitchen and into the laundry room to turn the kitchen light on. The light switch for the central hallways was at the far end of the hallway, so by the time you got to the point where you could turn the light on, you were already leaving the hallway.
While it might have been easier to wire it this way 80 years ago, living with it for the past year and a half and knowing that we planned on living there for the rest of our lives, I had to fix this. Paying an electrician to work with the old knob and tube wiring wasn’t something that I wanted to do. Fortunately, when I hired a great electrician, Karen Viciguerra, to install a ceiling fan with a remote controlled light in the living room last year, she told me about wireless light switches.
I looked for them at the time, but didn’t find any in HomeDepot or Lowes. Since I had 100 other items on my To Do List for home projects, this one fell to the bottom of the list when it wasn’t easy to find whatever she was talking about.
When my wife and I were at Lofings Lighting at 2121 J Street a couple months ago, I saw a display for wireless lights and asked Joan Gilly, the wonderful sales associate that was helping us. She went through all the details of what we would need and hooked us up.
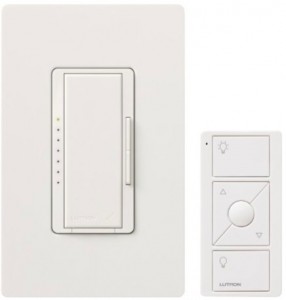
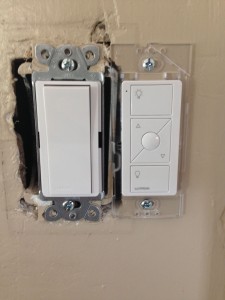
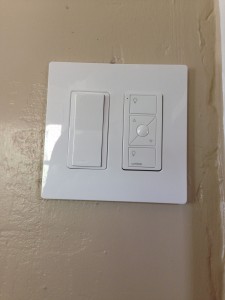
The process was very simple and if you can change a light switch (turn off power, remove a few screws and wires and put them onto the new switch and put it all back together), then you can do this easy project. All it takes is replacing an existing switch with the Lutron Maestro Wireless switch and then putting the wireless remote switch somewhere that makes sense. The first set took me a little less than an hour to do since I actually read the directions in full. Each additional switch only took me about 30 minutes to do.
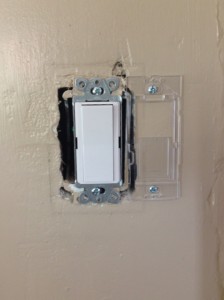
For our kitchen light I added the new remote stitch next to the existing breakfast nook switch, pictured below.
It was such a simple project but it has greatly improved the functionality of our home. Cheryl and I are thrilled that we can turn off the kitchen light as we leave the kitchen instead of backtracking into the laundry room, turn off the light and then walk through the dark kitchen, just to repeat the process of walking through a dark room with the dining room and the hallway.
There was no running wires, I didn’t have to cut into the lath and plaster walls and for just $70 in parts per switch set and a little bit of weekend time I was able to be the hero for my wife! I highly recommend this for anyone that has a poorly placed light switch.